Exports
Export public 3D scenes as cross sections and export map-backed rasters as georeferenced GeoTIFFs.
Overview
Mineflow has two export surfaces that matter most in public-data workflows: the 3D export dialog and the map layer settings dialog. The first is where cross sections begin. The second is where georeferenced raster export begins.
Export a Cross Section from 3D
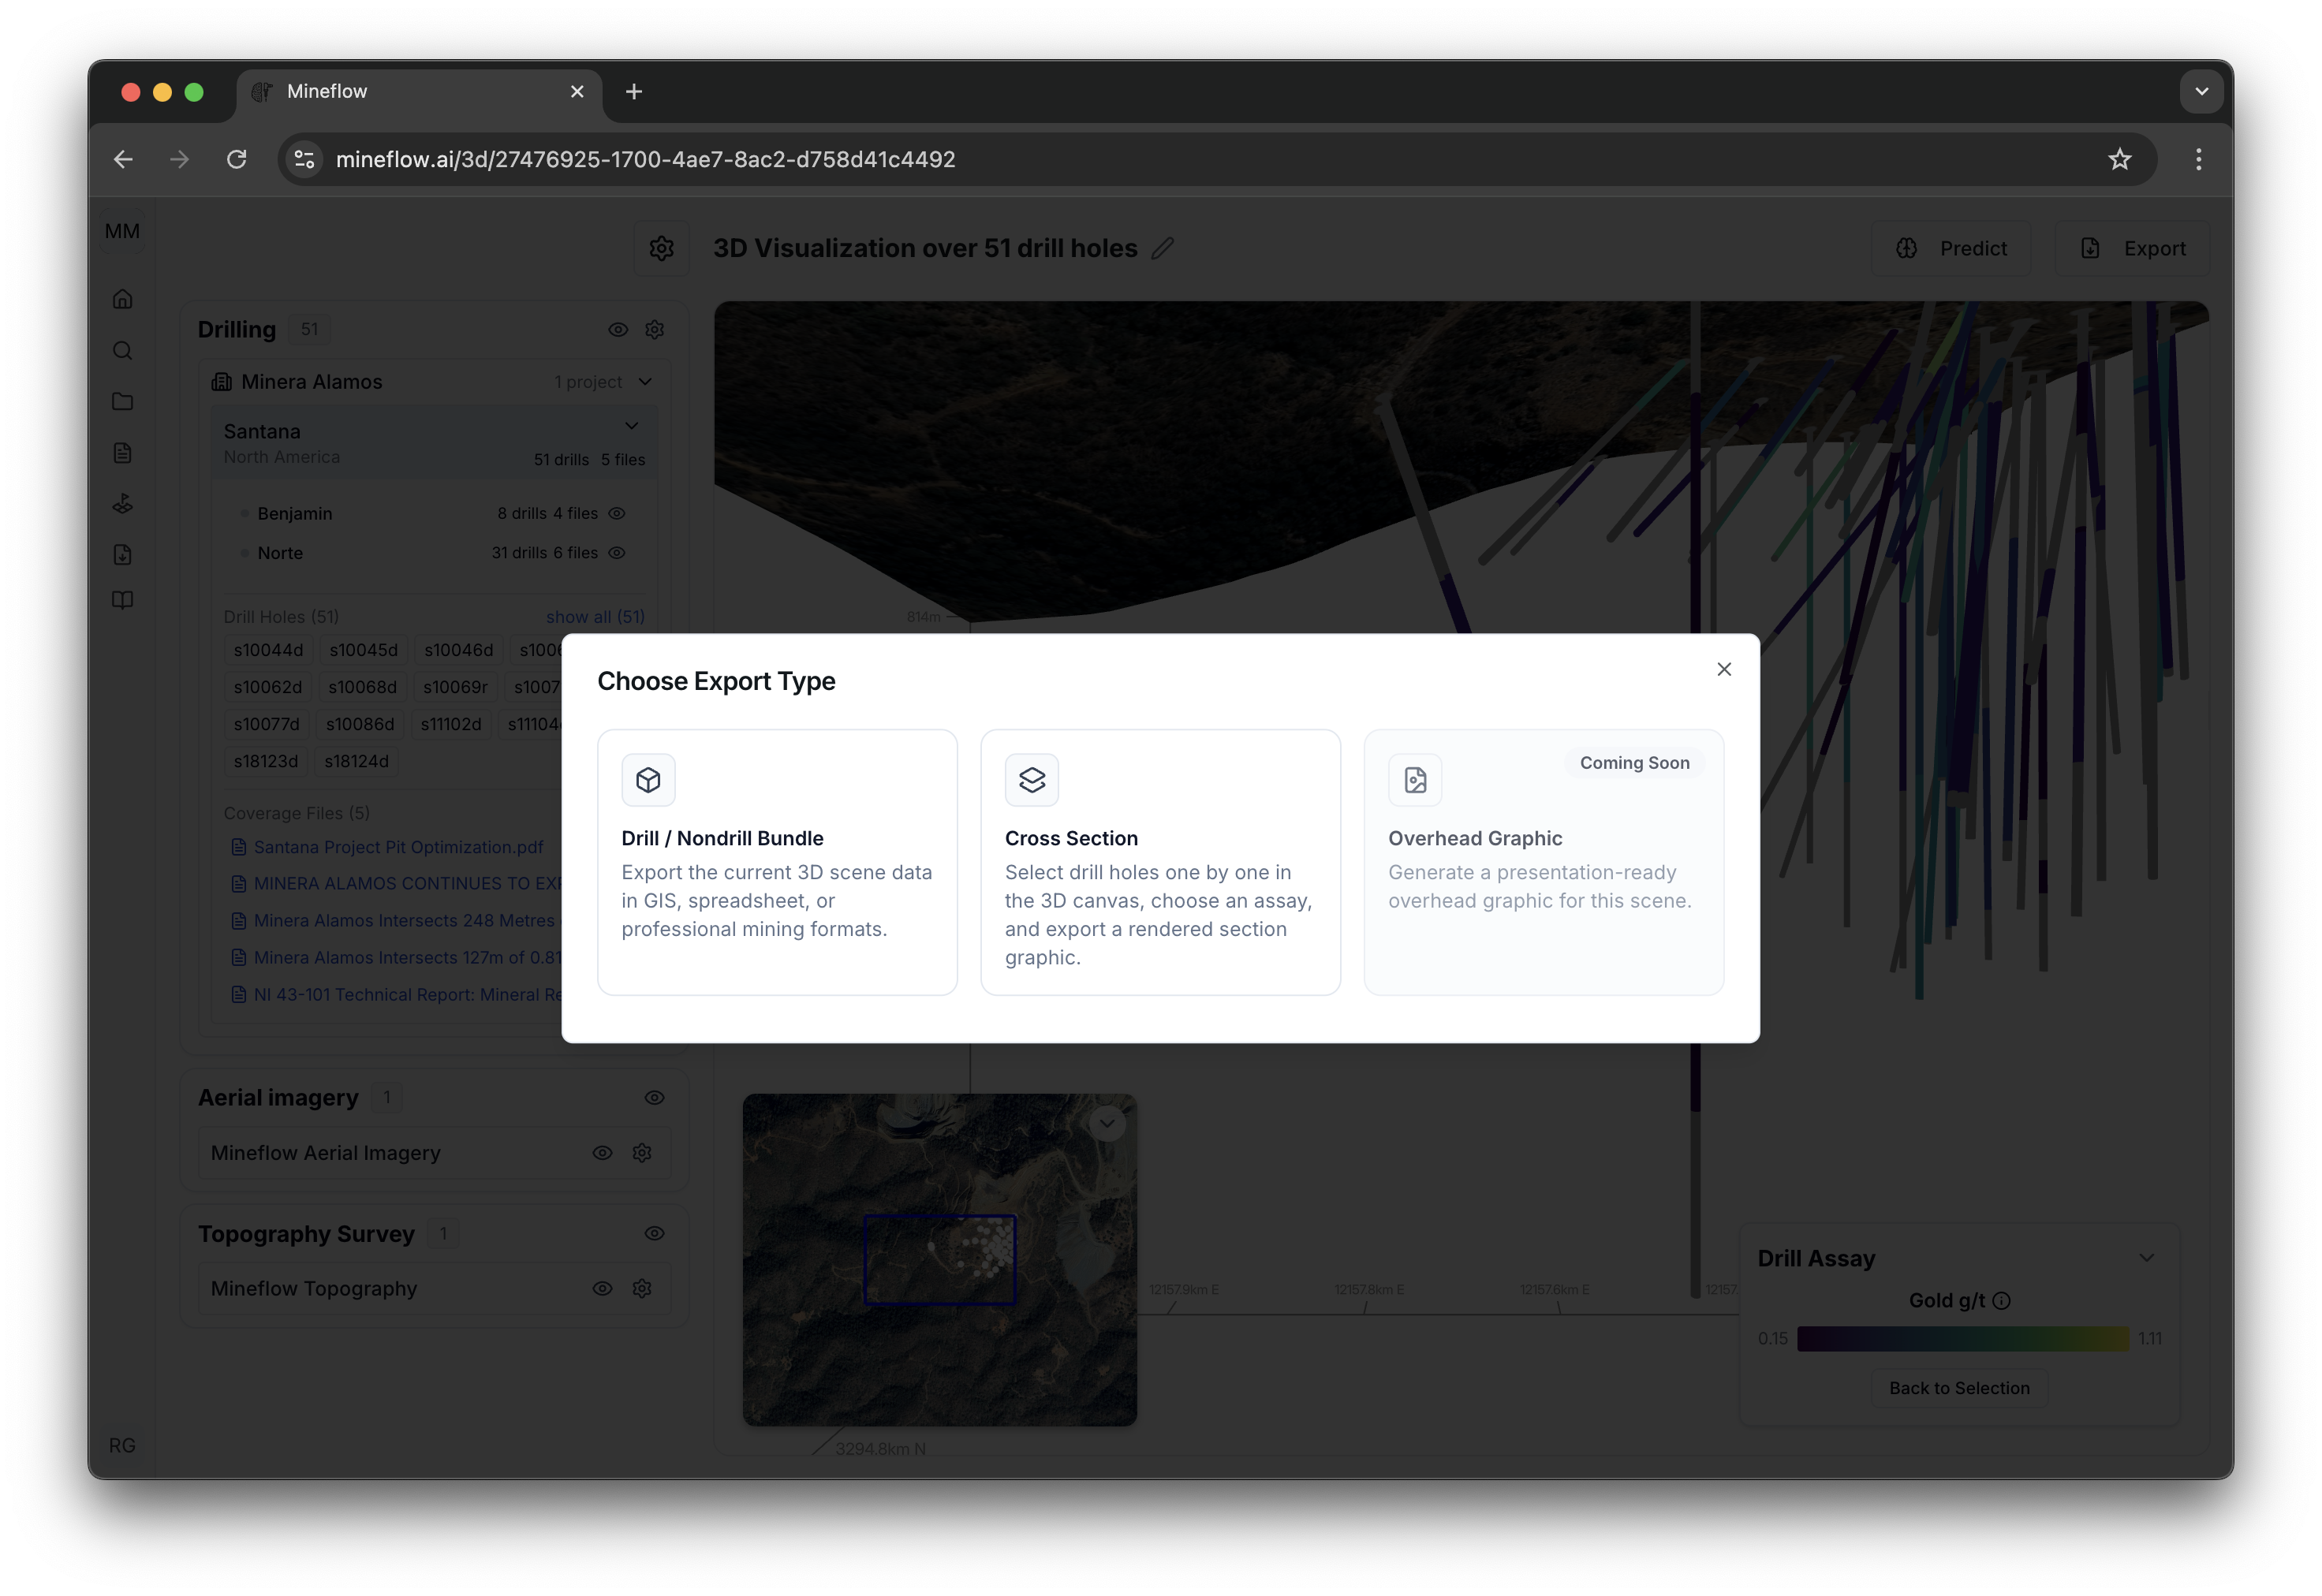
Start from a loaded 3D scene, click Export, then choose Cross Section. Mineflow opens a dedicated panel where you pick the drill holes that define the section and export the rendered result.
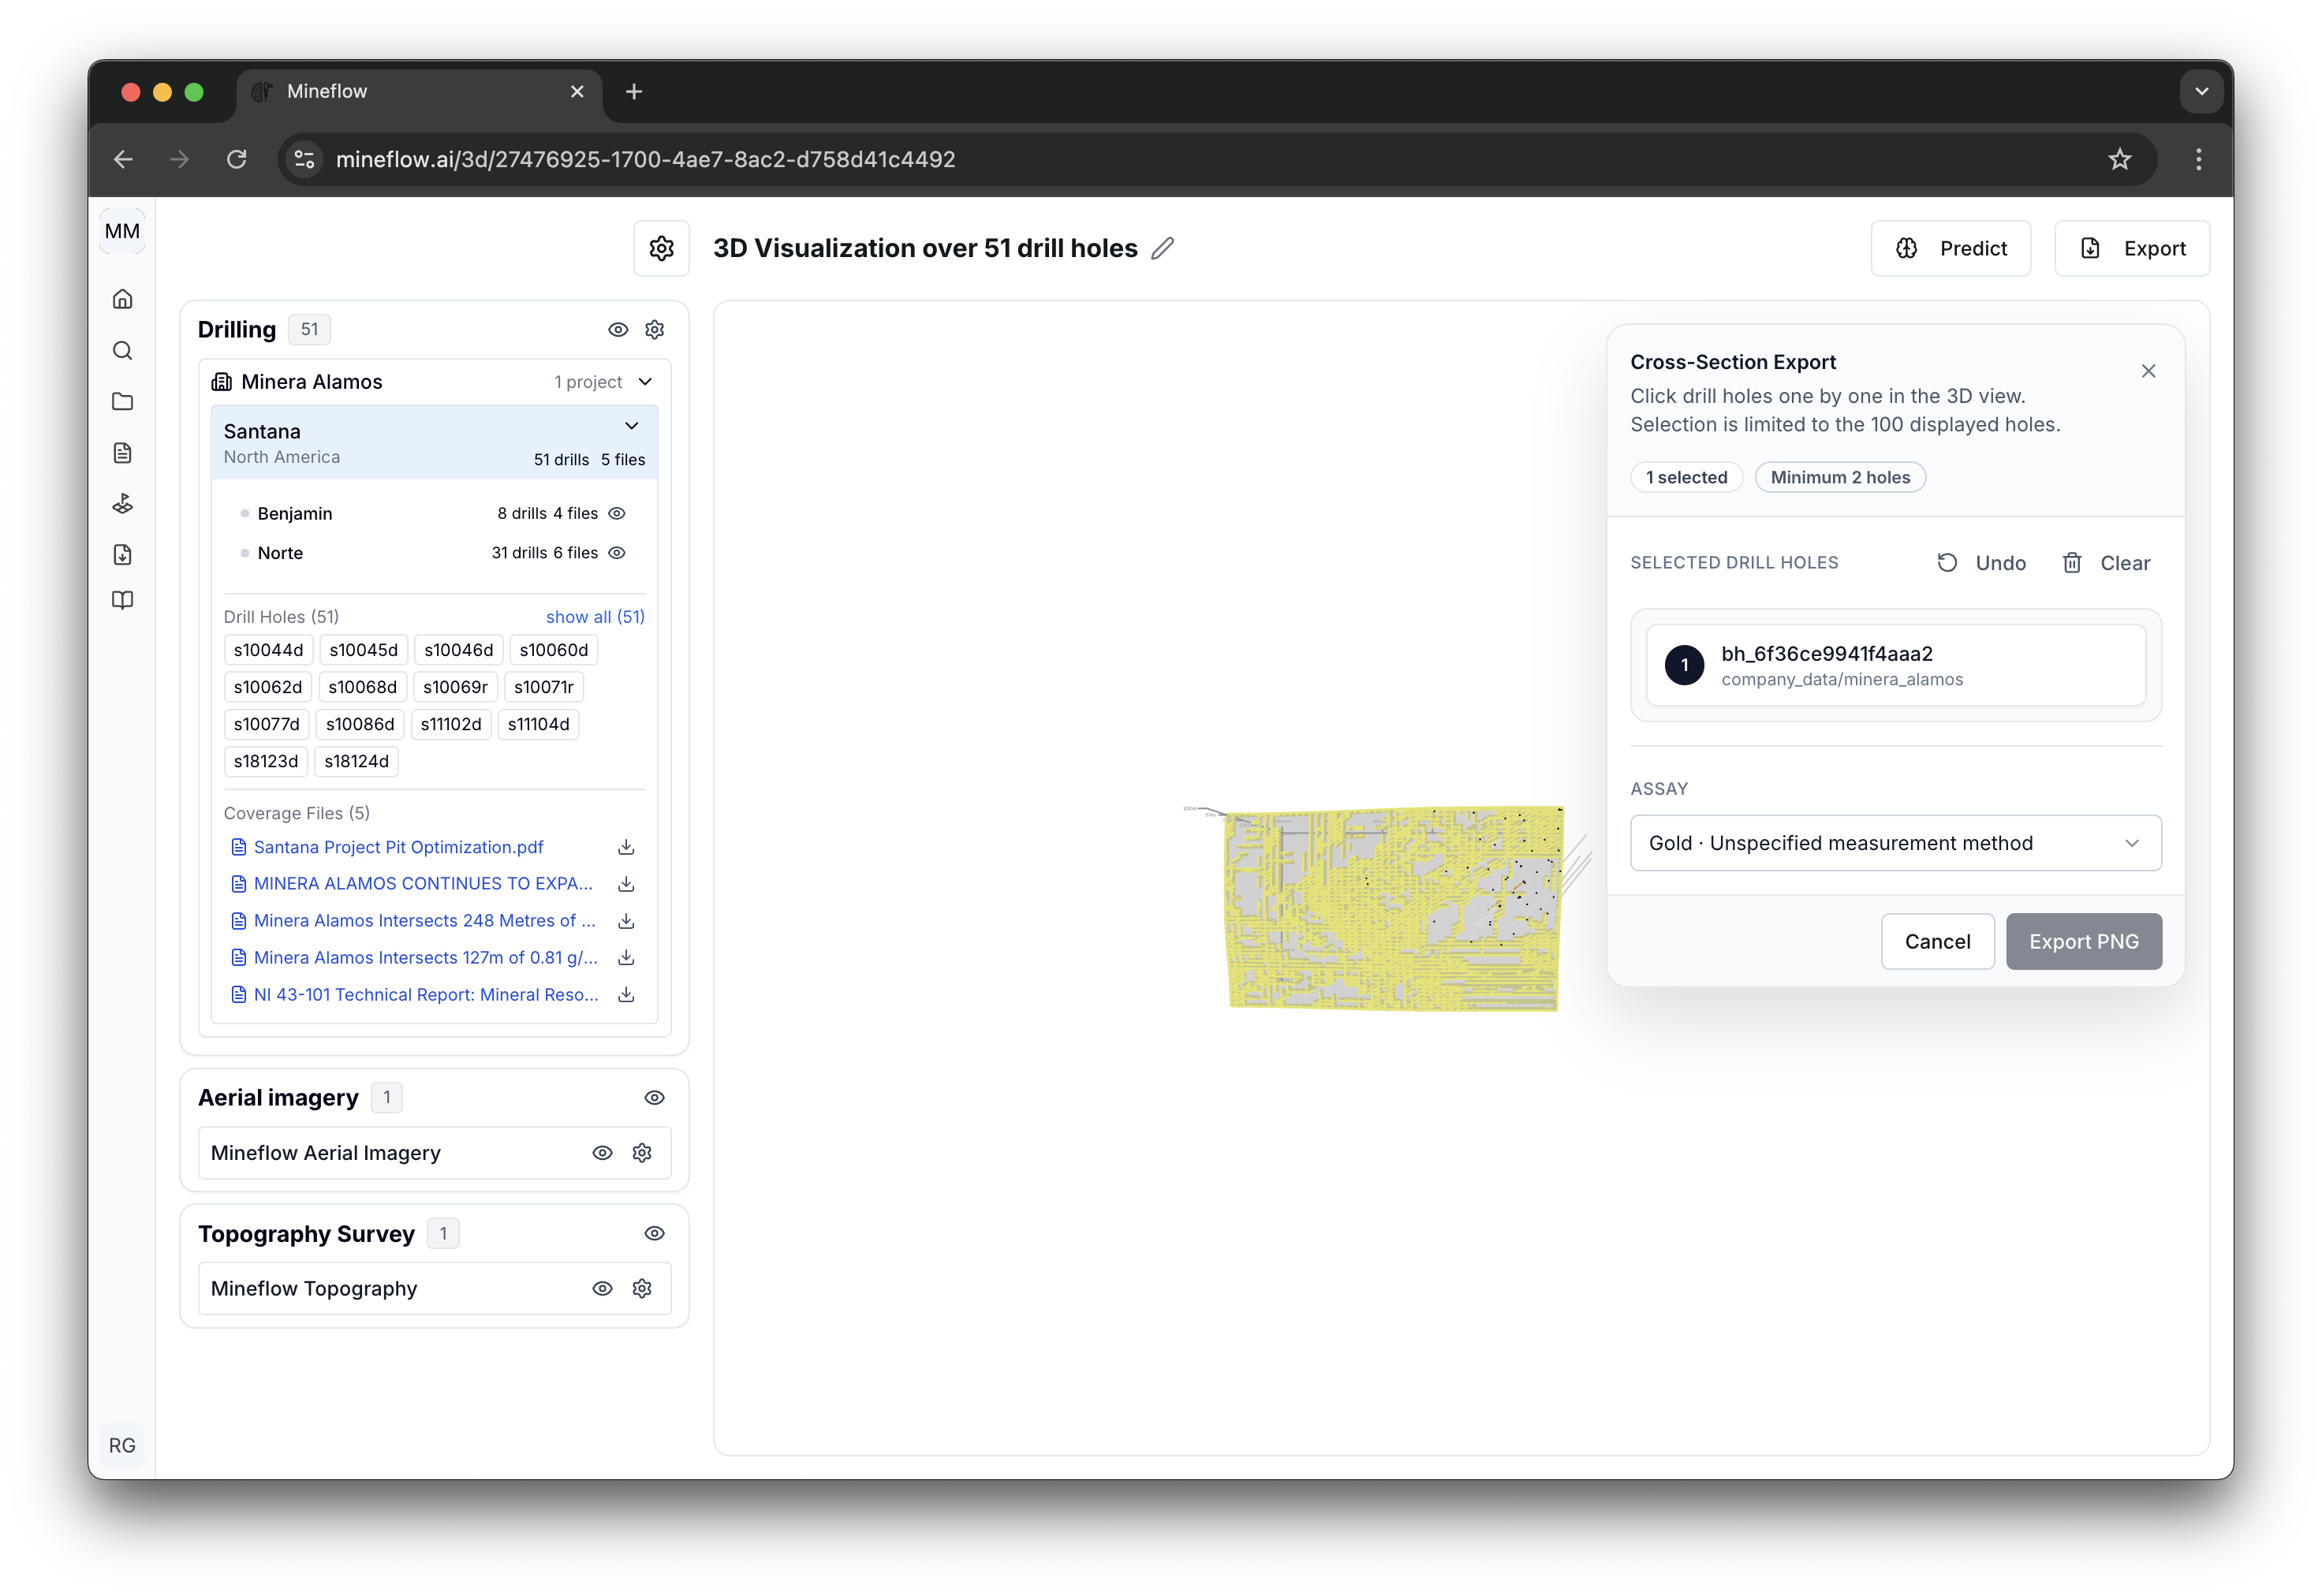
- Use a meaningful assay selection before exporting.
- Choose the drill holes that best represent the section line.
- Continue until the panel has enough holes for export, then export the rendered section directly from the same workflow.
Export a GeoTIFF from the Map
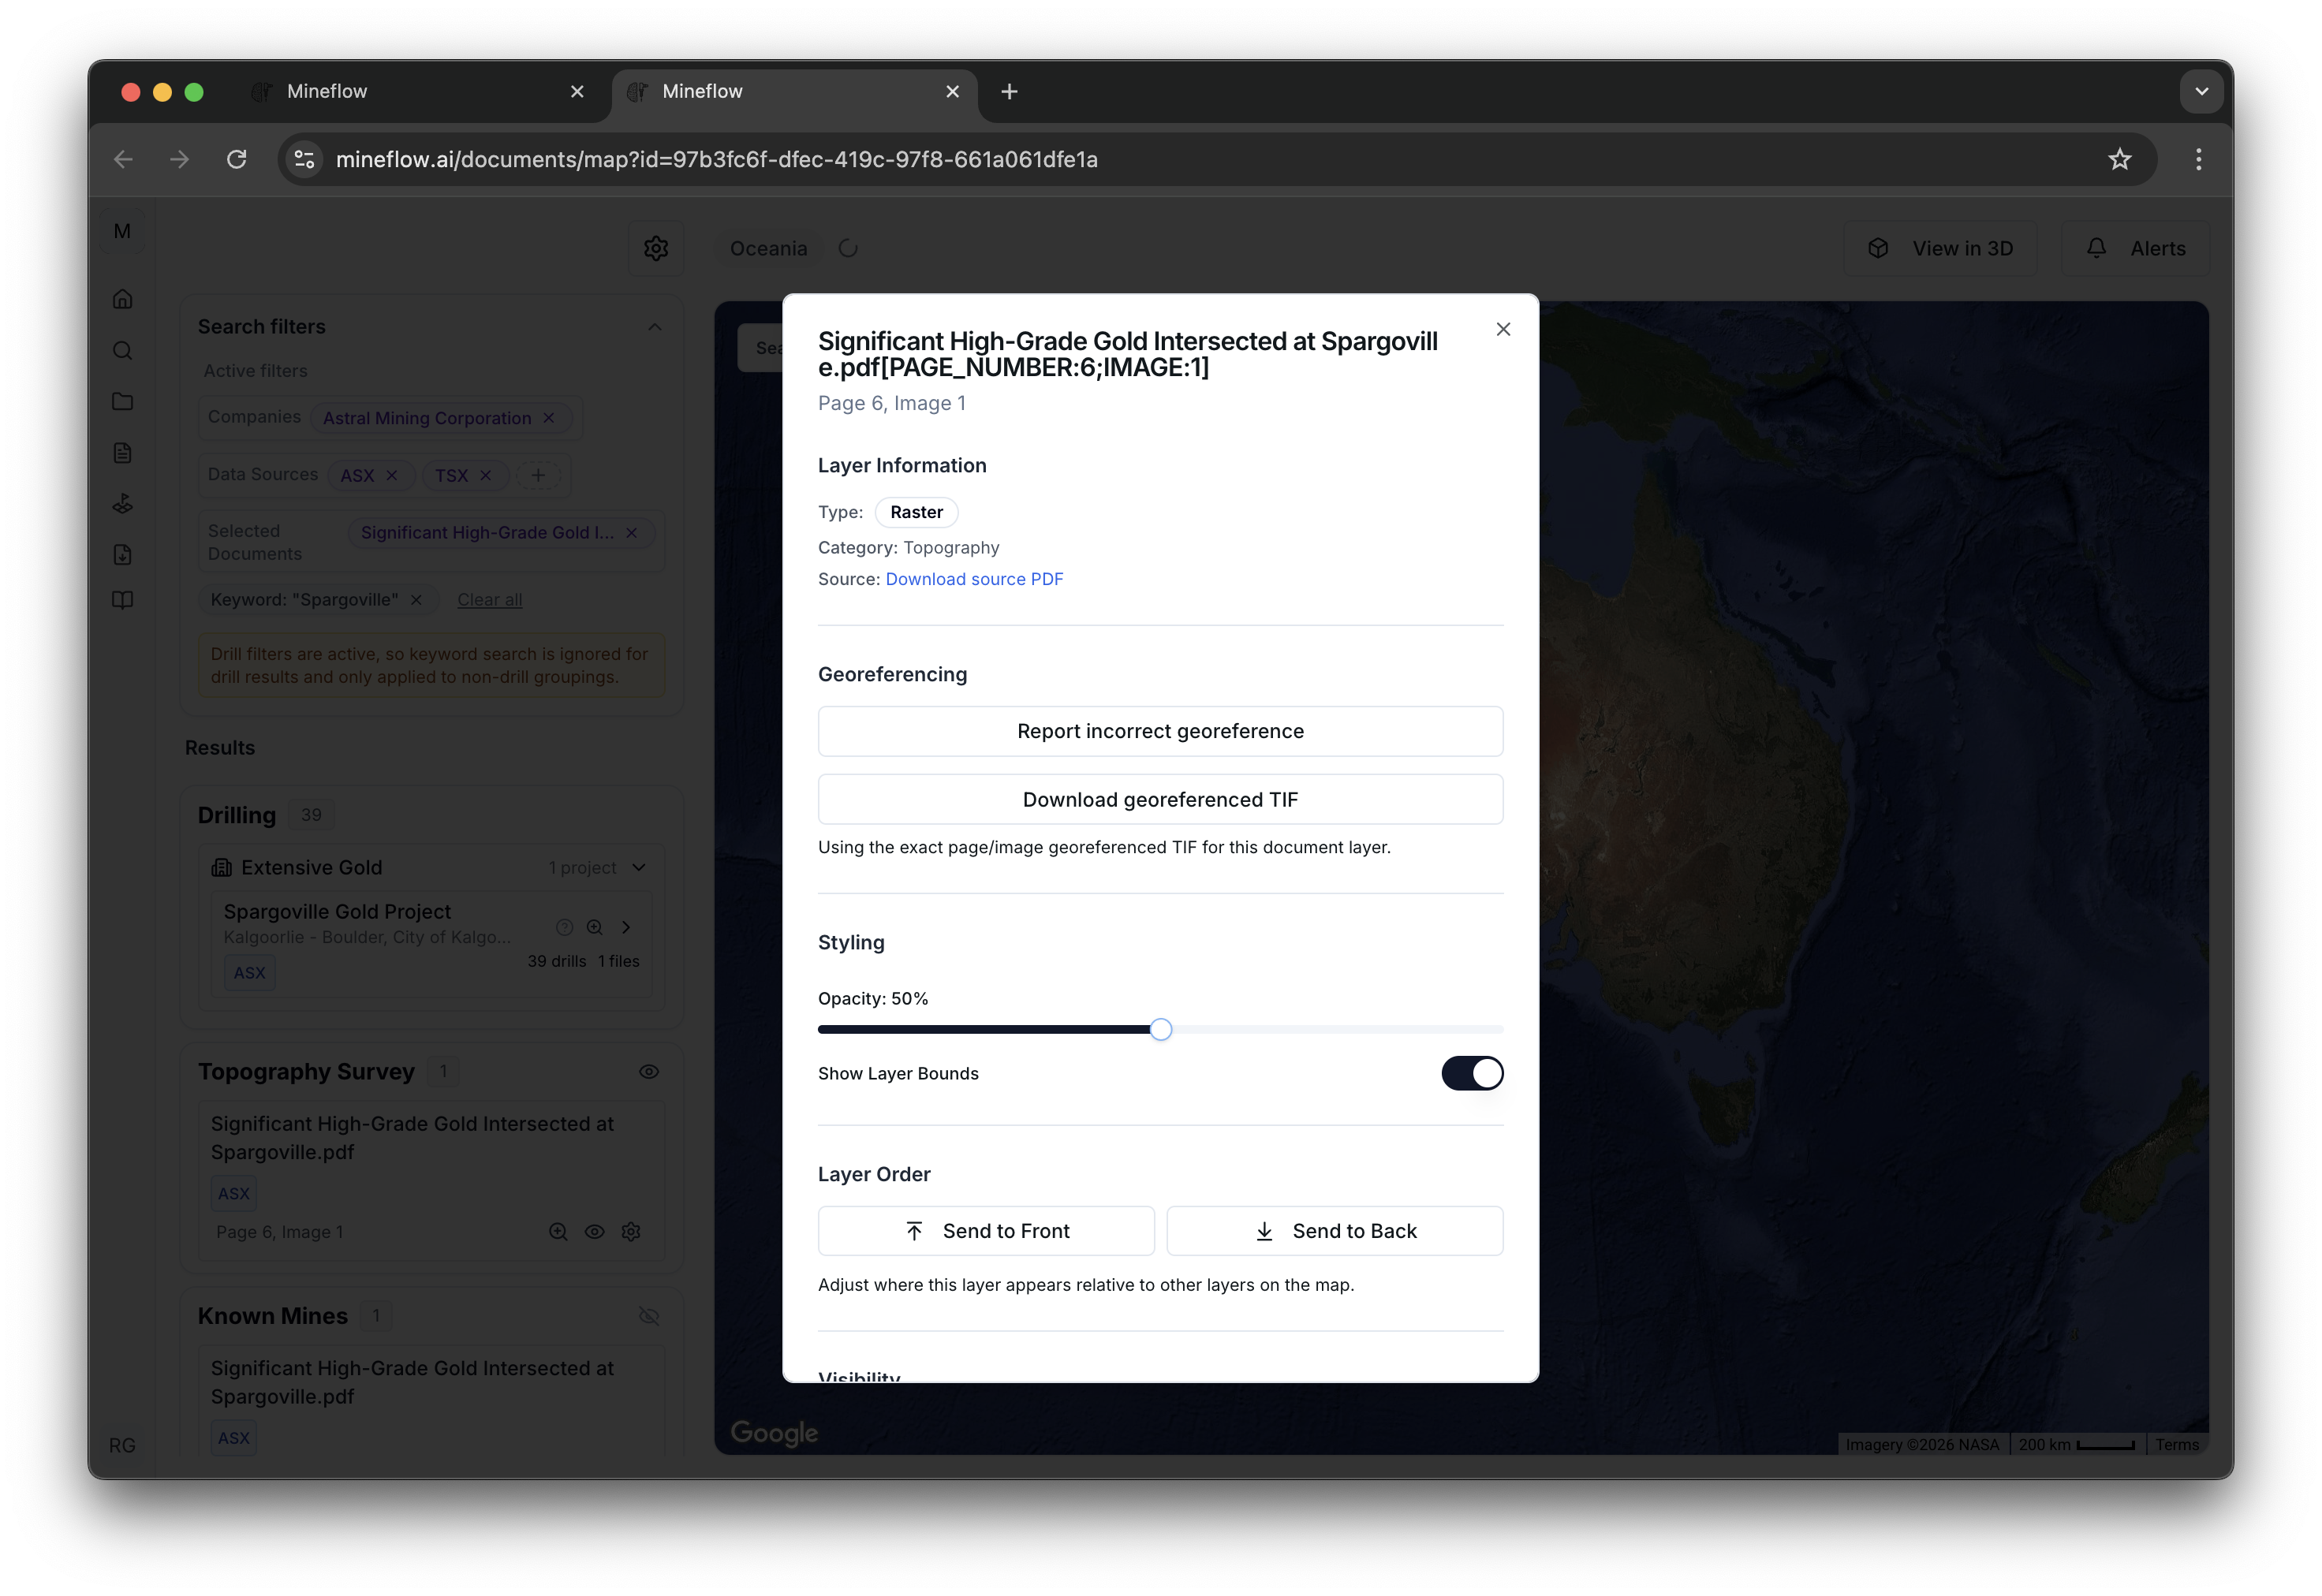
GeoTIFF export starts from a map-backed layer, not the 3D scene. Open a filing or project on the map, open the target layer settings, and use Download georeferenced TIF when the layer offers raster export.
Scope matters
Cross-section export is scene-scoped and starts in 3D. GeoTIFF export is layer-scoped and starts on the map. They serve different downstream tools, so choose the path that matches the artifact you actually need.