Upload data
Add exploration reports, tables, maps, and survey files to your private workspace.
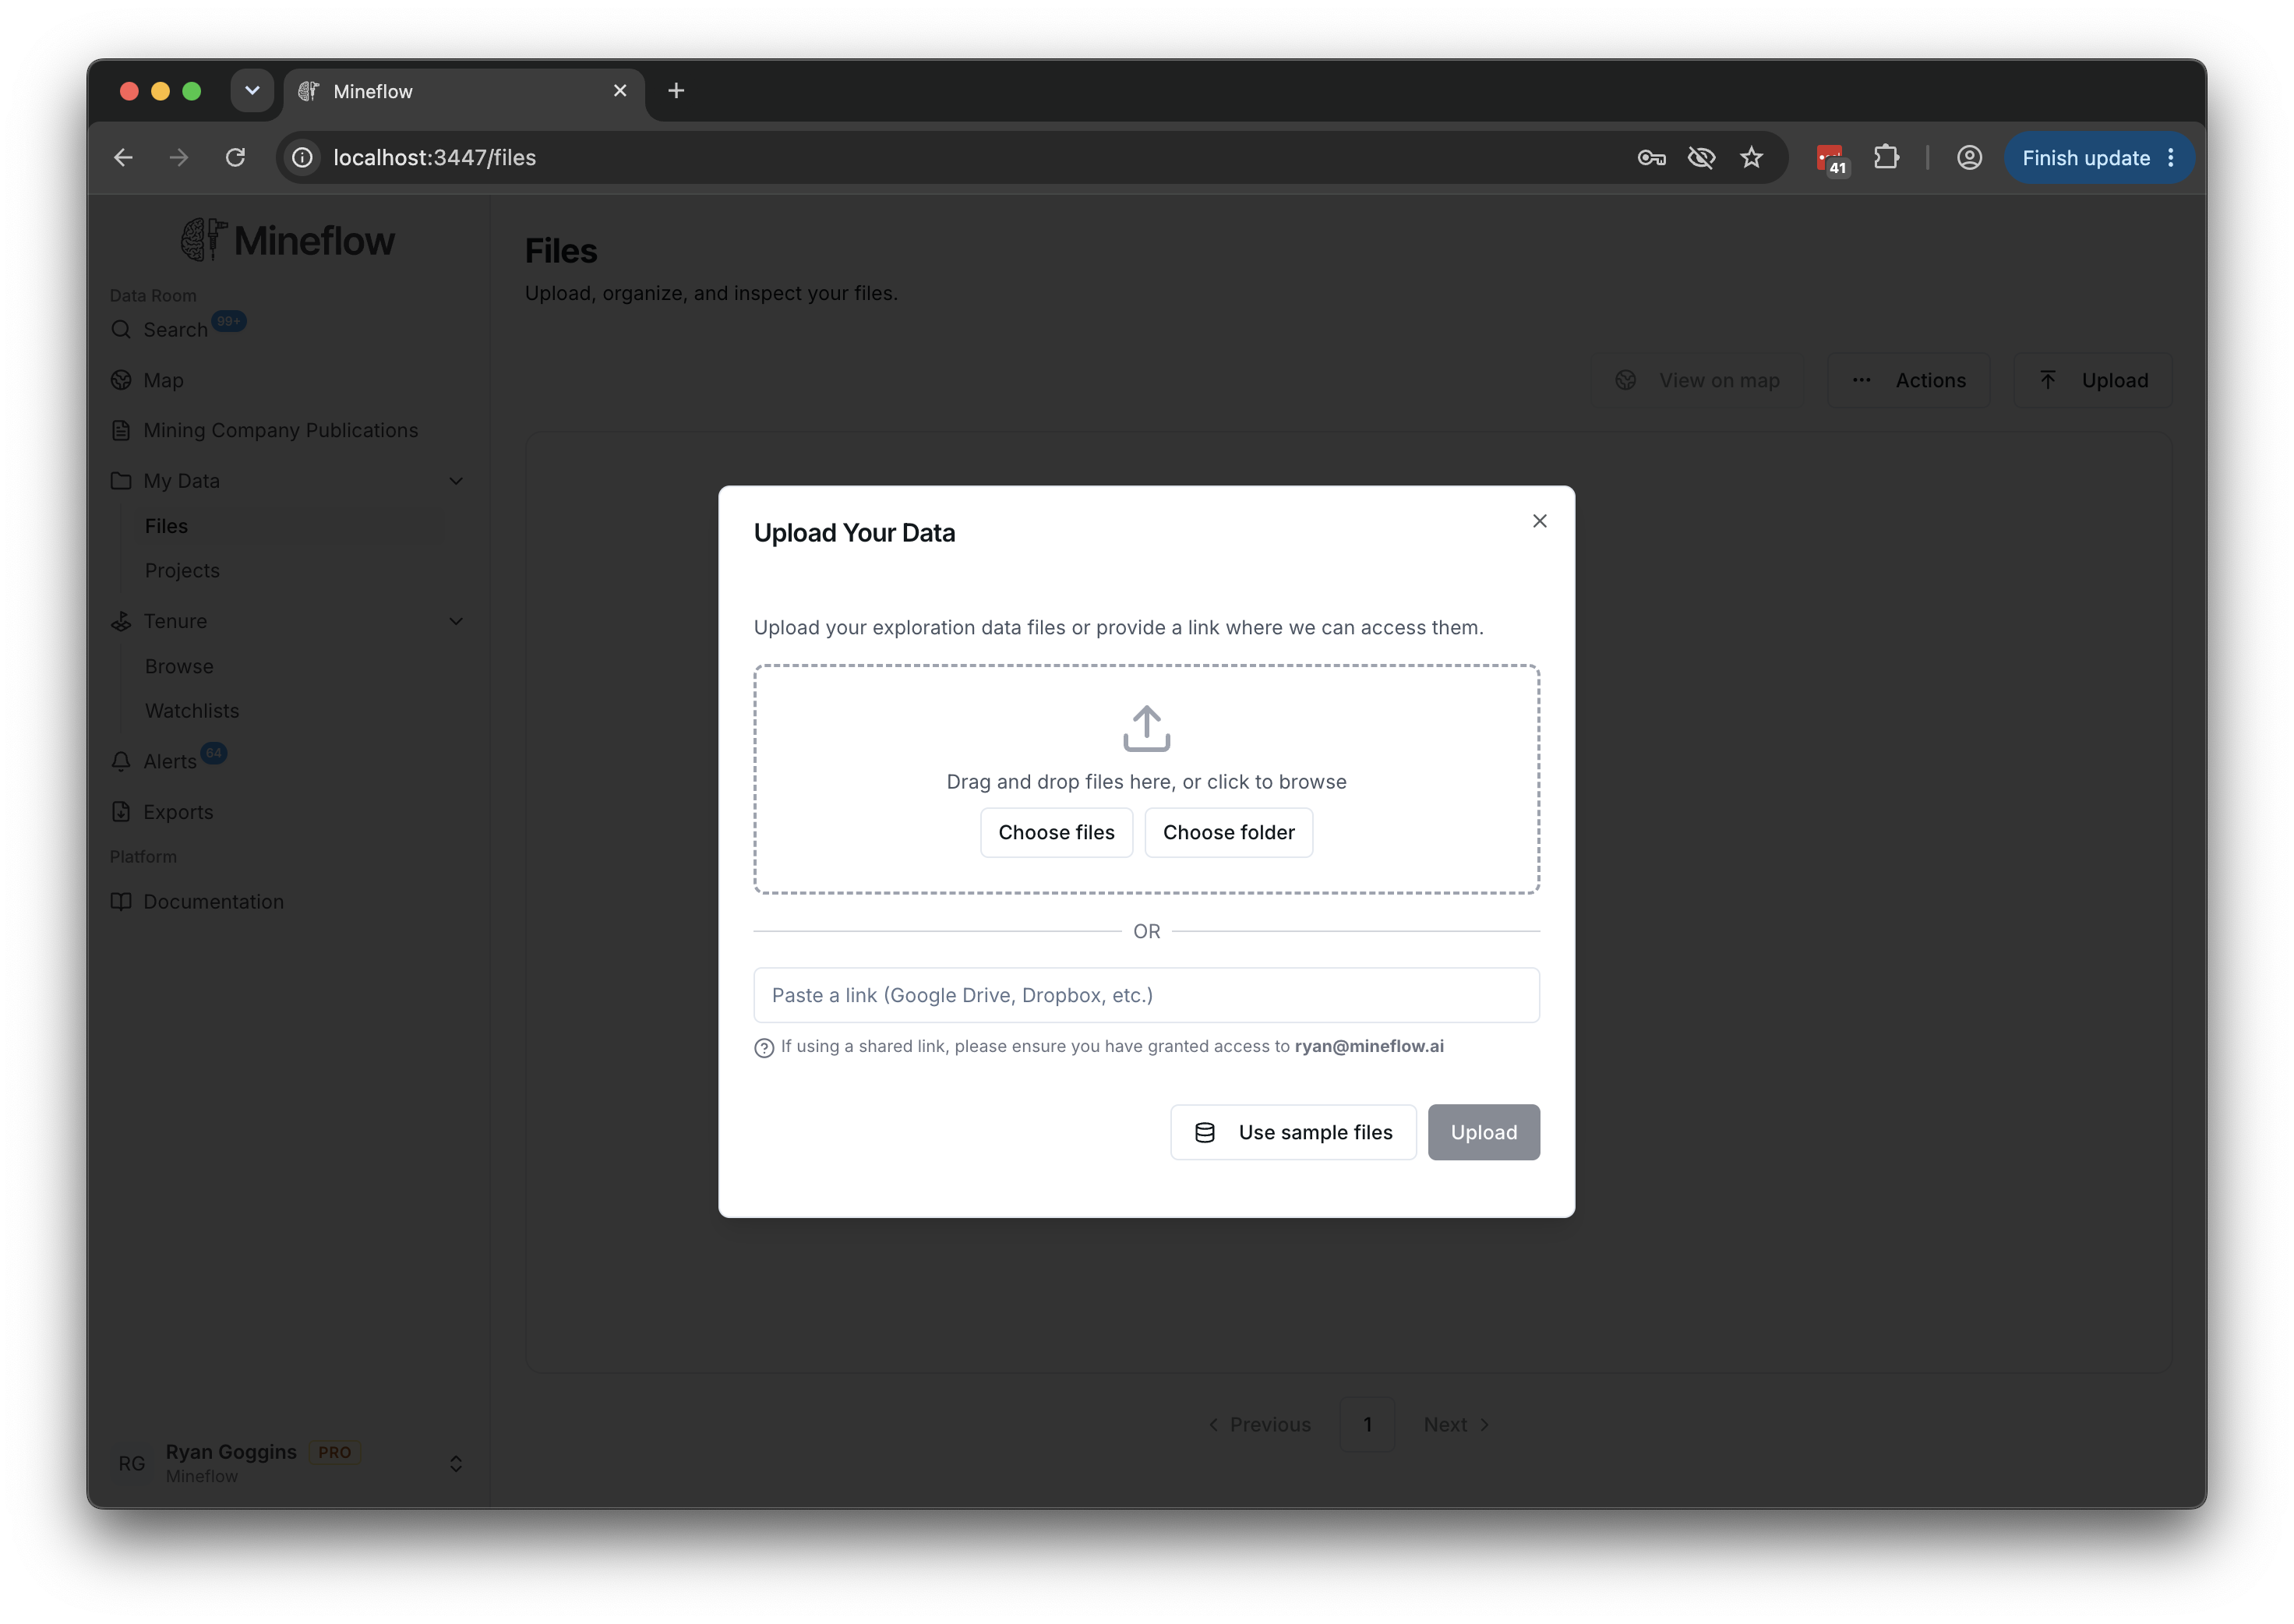
Choose how to add your data
Open My Data → Files and select Upload. To put new files directly into a personal project, open that project and select Upload Files.
| Option | When to use it |
|---|---|
| Sample datasets | Try the workflow with an unchanged Mineflow sample. Sample processing uses no credits. |
| Files | Choose individual files or drag them into the upload area. |
| Folder | Keep related tables, GIS sidecars, and mixed project files together. |
| Cloud link | Import from a supported Google Drive, Dropbox, OneDrive, or SharePoint link. Follow the access instructions shown in the dialog. |
Prepare a useful upload
- Include collars, surveys, assays, and lithology tables together when they belong to the same drilling campaign.
- Keep original filenames, column headings, units, and coordinate information.
- Include the report or map that explains the dataset, not just a cropped screenshot of a table.
- For a shapefile, include the .shp, .shx, .dbf, and .prj files when available. Keep other GIS and geophysical bundles intact too.
- For a restricted cloud folder, grant access to the account shown in the upload dialog before submitting the link.
See Supported file formats for the format-specific requirements.
What happens after upload
Mineflow uploads your files, then measures supported content for a processing quote. When credit billing is enabled, review the files, measured quantities, cost and balance in Confirm file processing. Select Accept and start to reserve credits and begin processing. Free sample processing and eligible no-cost reruns start without a paid quote confirmation.
Personal file processing is charged separately from search access, including on Professional. Having enough credits does not accept a paid quote for you. Successful components are charged separately; components that produce no output release their reserved credits. See File processing costs and track the charges under Billing → Usage.
Selecting Cancel on a new upload's quote removes those new files from your drive and uses no credits. If your balance is too low, nothing starts; closing that notice also removes the new uploads. Choose a paid plan or add credits as appropriate, then upload the files again.
- Return to Files or the project's Files tab and check processing progress.
- Review the detected data types after processing.
- Select the relevant files and use View on Map to inspect the extracted data.
Large folders take longer. Avoid submitting the same folder again while the first upload is still processing.